Need some last minute ‘spooky’ ideas? Check out these art activities using different approaches to printing.
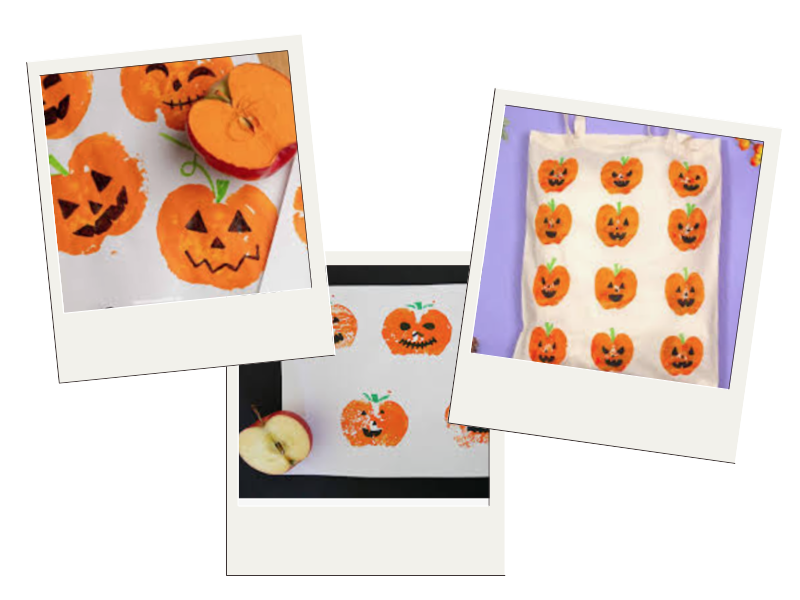
Printing pumpkins using apples!
If you’re up for a messy Art lesson, printing pumpkins could be the one for you!
Supplies needed:
- Card/paper of assorted colours,
- one apple per child,
- a knife (to chop them),
- orange paint,
- green paint/pens,
- black markers.
Extras if desired: mini embellishments as mentioned below, plain t-shirt or plain tote bag.
Get yourself a bag of apples and chop each apple in two!
The children put orange paint on the cut face and use the apple to print onto a paper of their choosing. Once dry, the kids use a green or black sharpie or black charcoal to finish their spooky pumpkins.
You could go traditional with the usual seasonal features or let creativity flow and get embellishing with gems, mini hats, moustaches, etc. Mini embellishments can be found on lots of craft websites or Amazon.
If your budget allows, you could get a multipack of plain T-shirts or plain tote bags. Children could print the pumpkins and make their own trick or treat bag or Halloween T-shirt!
Older children can explore how repeated patterns of printed shapes are used in art and fashion.
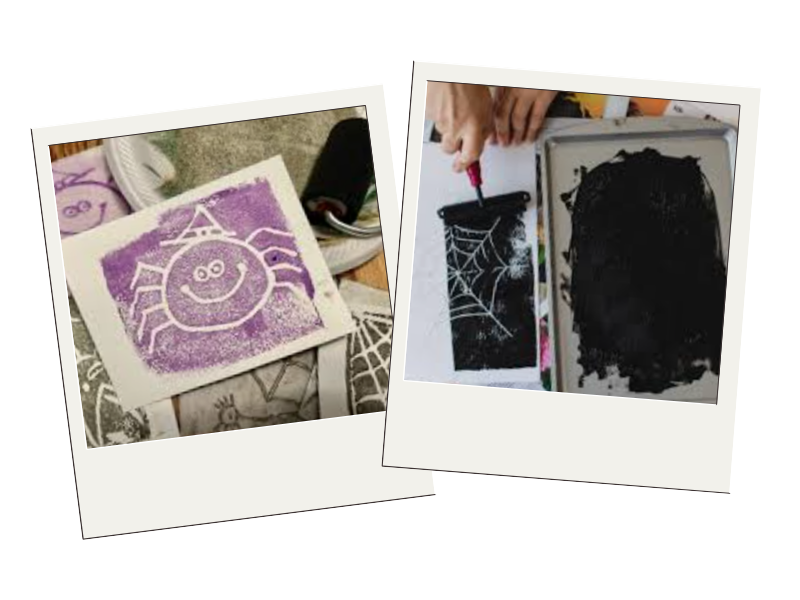
Foam Printing
Sticking with the printing idea, you need some foam sheets for this one. This art lesson is quite sensory as the children imprint their design into craft foam.
Supplies needed:
- Craft foam sheets,
- a pencil per child,
- black paint,
- a paint roller,
- paper/card of your colour choice.
When happy with their lightly drawn or traced spooky landscape or Halloween sketch, they press and lean over their designs (Key to this is lean really hard – all the muscles!) to create a deeper indent. When they’re happy with this step, using a roller, roll paint over the foam sheet with the design and turn it over and print onto card/paper…. and then reveal!
To create a Halloween story scape and use their masterpieces as a stimulus for writing, you could split the page into 4 and use 4 smaller pieces of foam to create 4 different scenes or pictures.
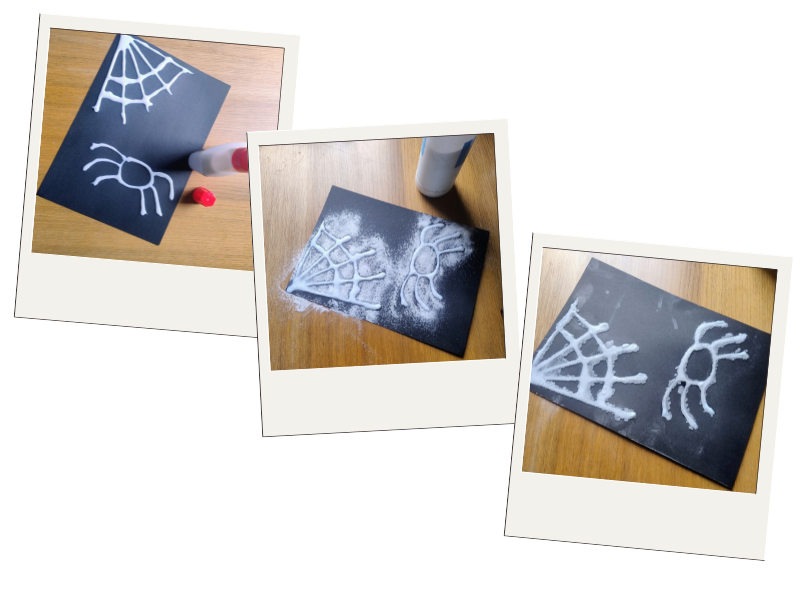
Glue and salt spooks!
For a more intricate art lesson, one perhaps for older classes, explore how glues like PVA can resist paint or hold salt crystals, which will absorb water paints.
This technique works well with design like a web, or with a picture made from sections like a stained glass window.

Supplies needed:
- White or black card,
- salt,
- a pencil per child,
- PVA with applicator/glue stick,
- water colour paints,
- a thin fine-brushed paintbrush per child.
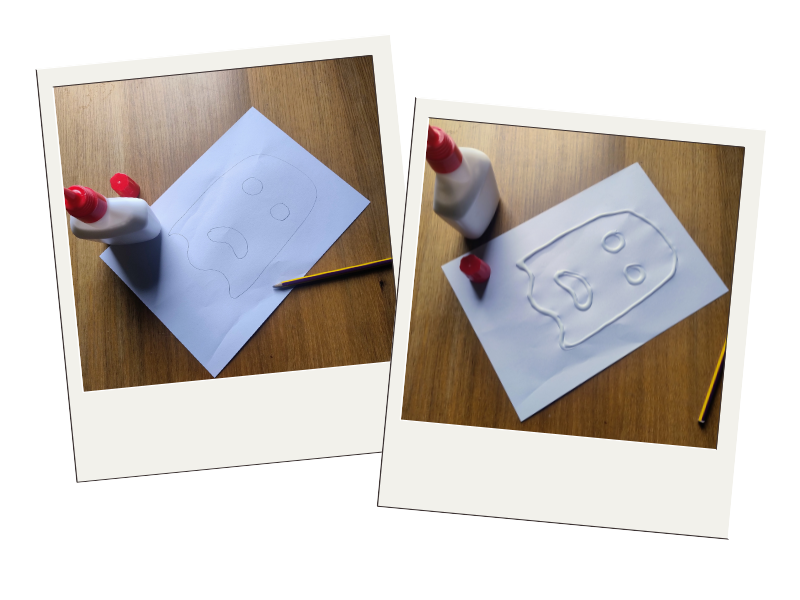
Once happy with a lightly drawn design, the kids are let loose with the glue (Glue Stick or PVA). One key element is that the sketch needs to be light handed so that the glue will partially cover it once placed.
With white card or watercolour paper, the kids spread glue carefully along every line on their design and then salt is shaken over the page (It should stick to every line they have glued). This is then allowed to dry. (Glue sticks dry quicker!)
The use well diluted water colour paint to carefully add colour into each section. The salt in the glue will also absorb lots of the water and colour and will creep its way along their creation.
For black card, the same technique is used, but a fine paintbrush is used to apply diluted water paint to the salted glue.