Digital signage is an engaging way to share important school information and news with students, staff and visitors. What if there was a way to make digital signage affordable and the authoring of content a more classroom oriented project?
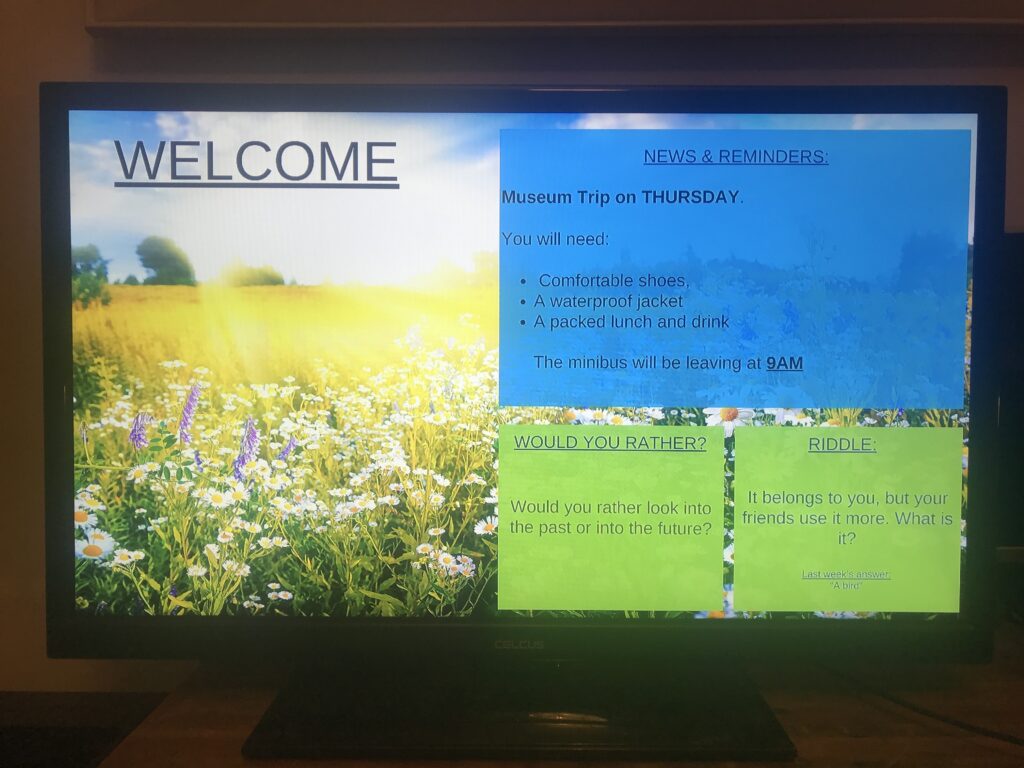
Using digital signage within school walls has several advantages. Photos and news featuring children can be kept safely in the school environment rather than be put online. Visitors and parents can see school information and news while waiting for appointments and students can see celebratory images, ideas of the week and updates about trips or events as they walk around the school.
Collecting updates and creating the the slides themselves can make a great student club activity, supplementing traditional newsletters and display making with bright images and pictures that change to capture attention. If you are running out of wall space for a classwork display, you could also digitise children’s work and create a digital gallery for a project using the same ideas.
Anyone got an old TV they are not using?
Like any technology, television keeps advancing. If your home is anything like mine, TVs have been upgraded over time to newer ones with streaming apps or for 4K display with the older ones relegated to spare bedrooms or disposed of while still fully functional. Many of these older TVs will likely have a USB media player option which allows them to play back images and videos from an attached memory stick. By simply creating slideshows using tools like PowerPoint or Canva and putting them on a USB stick, an old TV can be turned into a digital sign! While the TV could be wall mounted, it can simply be placed on a table or cabinet in a well frequented area. A rota of students could be used to ensure they are switched on each morning and the media players activated.
You may also find that your interactive panel in your classroom has a USB input for media that enables you to test this all out in class without needing anything else but a USB stick (8Gb to 16Gb is all you need as very large memory sticks might not be detected.)
Planning content for your sign
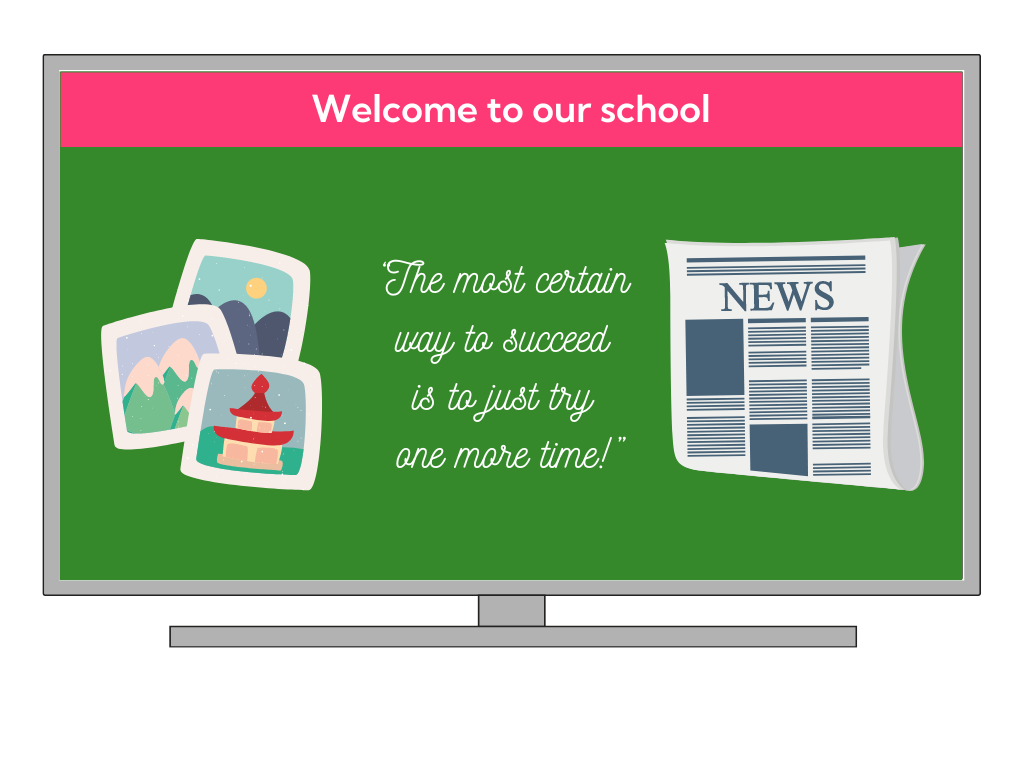
You can use or create a school branded presentation (the popular 1920×1080 pixel size is usually fine) in PowerPoint or Canva with pages for:
- School news
- Special events
- Idea/quote of the week
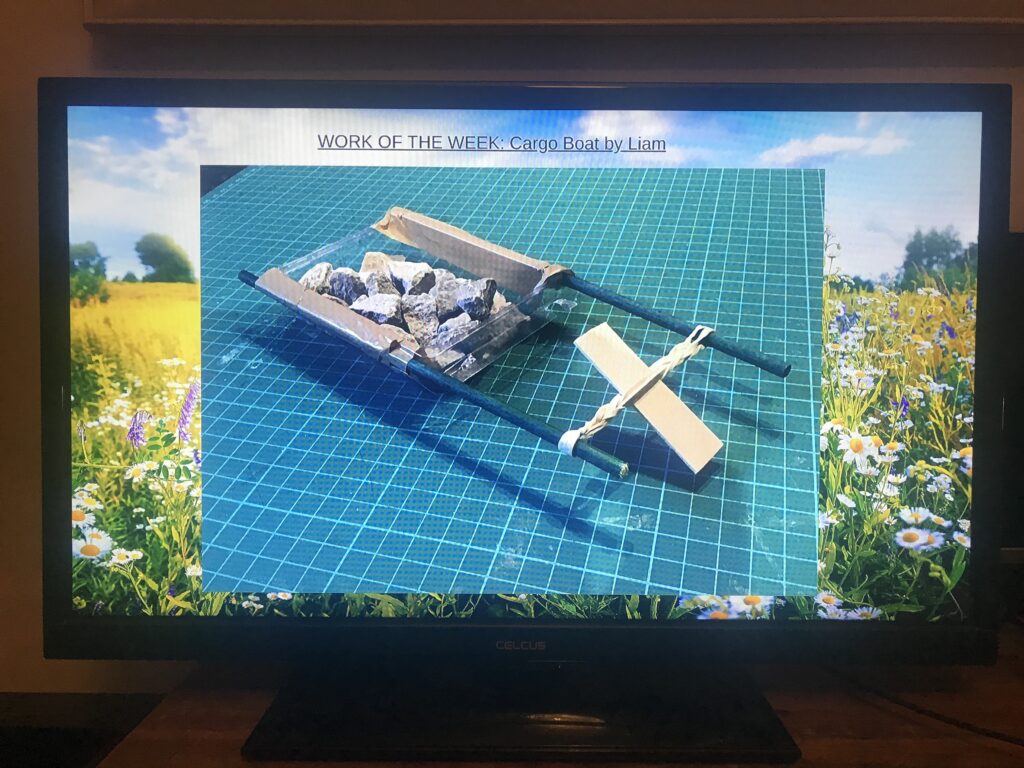
- Work of the week/month
- Art Gallery
- Class points or leaderboards
- Positive comments and praise from visitors
If you plan to have the display in a public area where parents might wait, you could also include a who’s who of staff and classes, access point and access time information and notes on supplies and kit needed for different activities and events.
Turing a PowerPoint or Canva presentation into image slides.
The media player in the TV will almost certainly support the display of Images in JPEG as well as other formats.
PowerPoint:
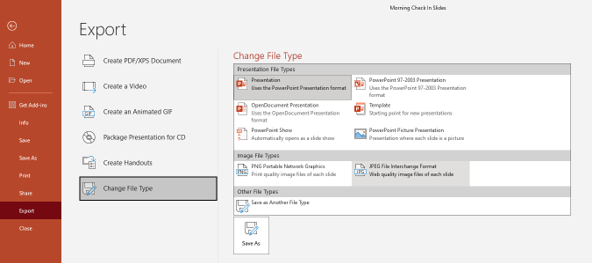
You can export a series of images of the slides in a PowerPoint to a USB stick from the File > Export menu. Choose JPEG File Interchange Format from the Change File Type options.
Canva:
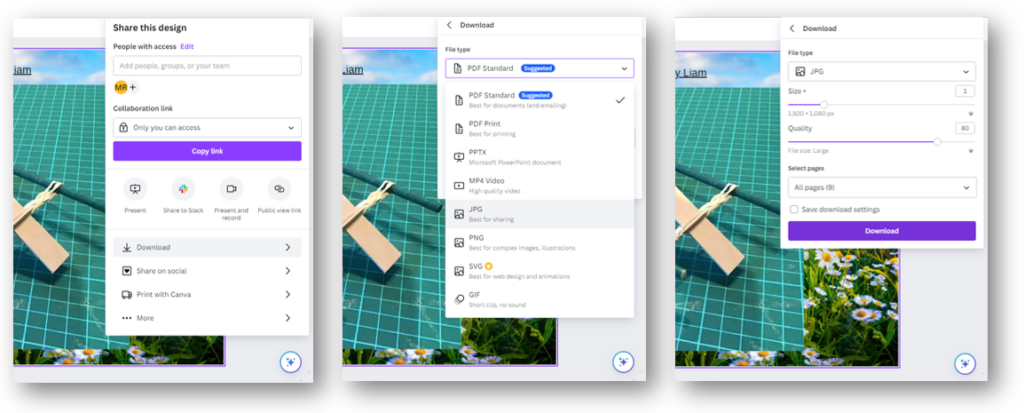
To export a presentation from Canva as image, Click Share and choose JPG as the file type. You can then choose which pages you would like as images and Download them as a .zip file. Unzip the content onto a USB stick to use with a TV.
Playing your images
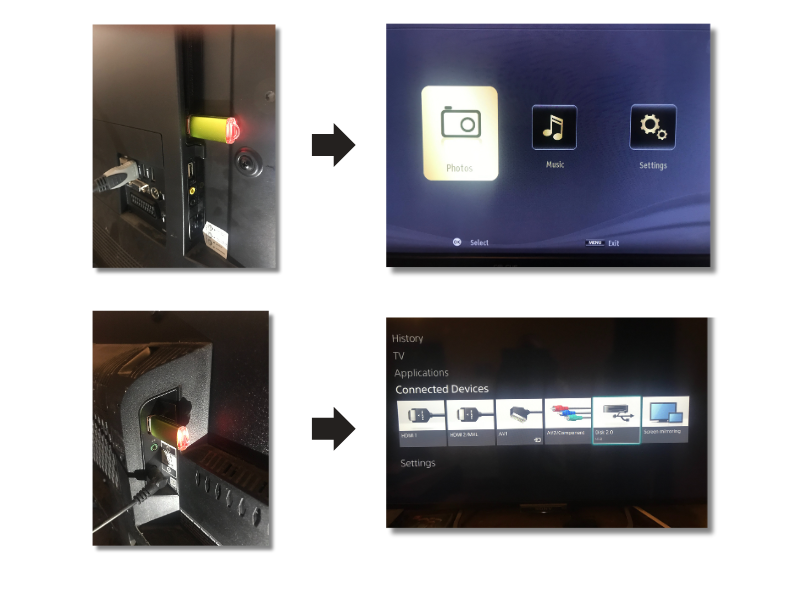
Each manufacturer will have differences in how they let you control USB media. The USB socket is likely to be on the back near the other inputs. The manual should show how to activate the slideshow mode for your model of TV.
Here are the sockets on two older televisions used here.
Some final thoughts:
You may want to check the settings for auto-power off. You could set this to make sure the TV switches off at the end of the school day if left unattended.
You will also want to make sure any slideshow is set to repeat. There will likely be other settings to adjust how often and how slides change.
Let us know what you think and if you have any questions, you can use the comments below.

Leave a Comment